Zone 2 Training for Cyclists: What It Is, Why It Works, and How to Structure It
Most cyclists train too hard on easy days and not hard enough on hard days. It's one of the most common patterns we see, and it quietly undermines performance for years at a time. Zone 2 training can be an effective way avoid this trap; it's been quietly, and often unconsciously, underpinning the success of the world's best endurance athletes for decades.
In this post we break down what Zone 2 actually is, the science behind why it works, and how to build it into your training week.
What is Zone 2 training?
Zone 2 refers to a specific intensity band in endurance training which is roughly 60–70% of your maximum heart rate, or the effort level at which you can hold a full conversation without gasping for breath. It's sometimes described as "comfortably uncomfortable". You're working, but you could sustain it for hours.
The standard five-zone model heart rate model places it just above a very easy recovery pace and well below threshold effort. If you use power on the bike, Zone 2 typically falls between roughly 55–75% of your FTP, though this varies by individual physiology and the model your coach uses.
The defining characteristic of Zone 2 is that it sits just below your first lactate threshold — the point at which your body starts to rely more heavily on anaerobic metabolism. Below that threshold, you're primarily burning fat for fuel and training the aerobic engine at its most fundamental level.
Why it works: the physiology
Zone 2 training drives adaptations that no amount of high-intensity work can replicate. Here's what's happening at a cellular level.
Mitochondrial development. Mitochondria are the energy-producing structures inside muscle cells. Zone 2 training increases both the density and efficiency of mitochondria in slow-twitch muscle fibres — the fibres that power sustained endurance effort. More mitochondria means greater capacity to produce energy aerobically, which is the foundation of all endurance performance.
Fat oxidation. Training in Zone 2 teaches your body to burn fat more efficiently as a fuel source. This matters enormously for long rides and events: the more effectively you can use fat, the longer you can sustain effort before depleting glycogen stores. Think of it as expanding the size of your fuel tank.
Improved lactate clearance. Zone 2 also increases your body's ability to clear lactate — the byproduct of anaerobic metabolism — which improves your ability to sustain hard efforts and recover between them. This has direct benefits even for riders who race at much higher intensities.
Cardiac output. Sustained low-intensity aerobic work increases stroke volume — the amount of blood your heart pumps per beat. A stronger cardiac engine delivers more oxygen to working muscles, raising the ceiling on everything else you do.
Why most cyclists don't do enough of it
Zone 2 training is deceptively easy to get wrong in both directions. Either riders dismiss it as too easy and push into Zone 3 (what some coaches call "junk miles" — too hard to recover from, too easy to drive adaptation), or they do it occasionally and assume a couple of sessions per week is sufficient. Side note: we are not saying there isn't a place for Zone 3, but it needs to be incorporated into a training programme appropriately.
The honest truth is that Zone 2 needs to constitute a significant proportion of total training volume to work. Elite endurance athletes including Tour de France riders and Olympic-level track cyclists typically spend 70–80% of their total training time in Zone 2. That proportion matters. The adaptations are cumulative and slow-building; they can't be shortcut by adding intensity.
For amateur cyclists, this creates a genuine tension. We've written elsewhere about how to structure a cycling training plan that gets results and the role of supercompensation in cycling training — both of which are relevant here. The key insight is that even if your total training volume is modest, the distribution across zones should still broadly reflect these principles.
How to find your Zone 2
There are three practical ways to establish your Zone 2 boundaries:
1. The talk test. The simplest and most accessible method. If you can speak in full sentences without pausing for breath, you're in Zone 2. If you can only manage a few words at a time, you've pushed above it. This is surprisingly accurate for most riders.
2. Heart rate. Using a heart rate monitor, Zone 2 is approximately 60–70% of your maximum heart rate. If you don't know your max HR, a rough field estimate is 220 minus your age though this formula has significant individual variation. A more accurate approach is a proper field test or lactate testing.
3. Power-based training. If you train with a power meter and have tested your FTP, Zone 2 typically spans roughly 55–75% of that number. This is the most precise method and removes the noise introduced by temperature, fatigue, and daily variation in heart rate.
How to structure Zone 2 in your training week
The good news is that Zone 2 training is forgiving and accumulates well. A long weekend ride that stays disciplined in Zone 2 is one of the most effective things you can do for your cycling fitness.
A practical weekly structure for a time-limited amateur cyclist might look like this:
- 2–3 Zone 2 sessions per week, ranging from 45 minutes to 2+ hours as fitness builds
- 1 higher-intensity session (threshold intervals, VO2max efforts, or a hard group ride)
- 1 full rest day or very easy active recovery
The most common mistake is turning Zone 2 rides into Zone 3 rides — especially on group rides where social dynamics push the pace up. If you're using a heart rate monitor, set an alert at the top of your Zone 2 range and honour it. It will feel frustratingly easy at first. That's the point.
For longer rides — anything over 90 minutes — Zone 2 is the natural default intensity. This is where the aerobic base is built, the fat-burning engine is trained, and the mitochondrial adaptations compound over weeks and months.
The patience problem
Zone 2 training requires a mindset shift that many cyclists find uncomfortable. Progress is not immediately visible in the way that a hard session or a new power PB is. The gains are structural, physiological, and slow. But they are also permanent in a way that high-intensity fitness is not.
Riders who commit to a high-volume Zone 2 base — particularly over a winter or a structured off-season block — typically find that their ability to sustain harder efforts improves dramatically when intensity is reintroduced. The high-end work sits on top of a bigger engine. That's the whole game.
We've written about the parallel principle in lessons on how to get faster at cycling, and it bears repeating here: the fundamentals, done consistently over time, outperform any shortcut.
Does equipment matter?
Zone 2 training places minimal stress on components, but that doesn't mean your setup is completely irrelevant. A comfortable, efficient bike reduces the friction that stops amateur cyclists from accumulating the training volume Zone 2 demands.
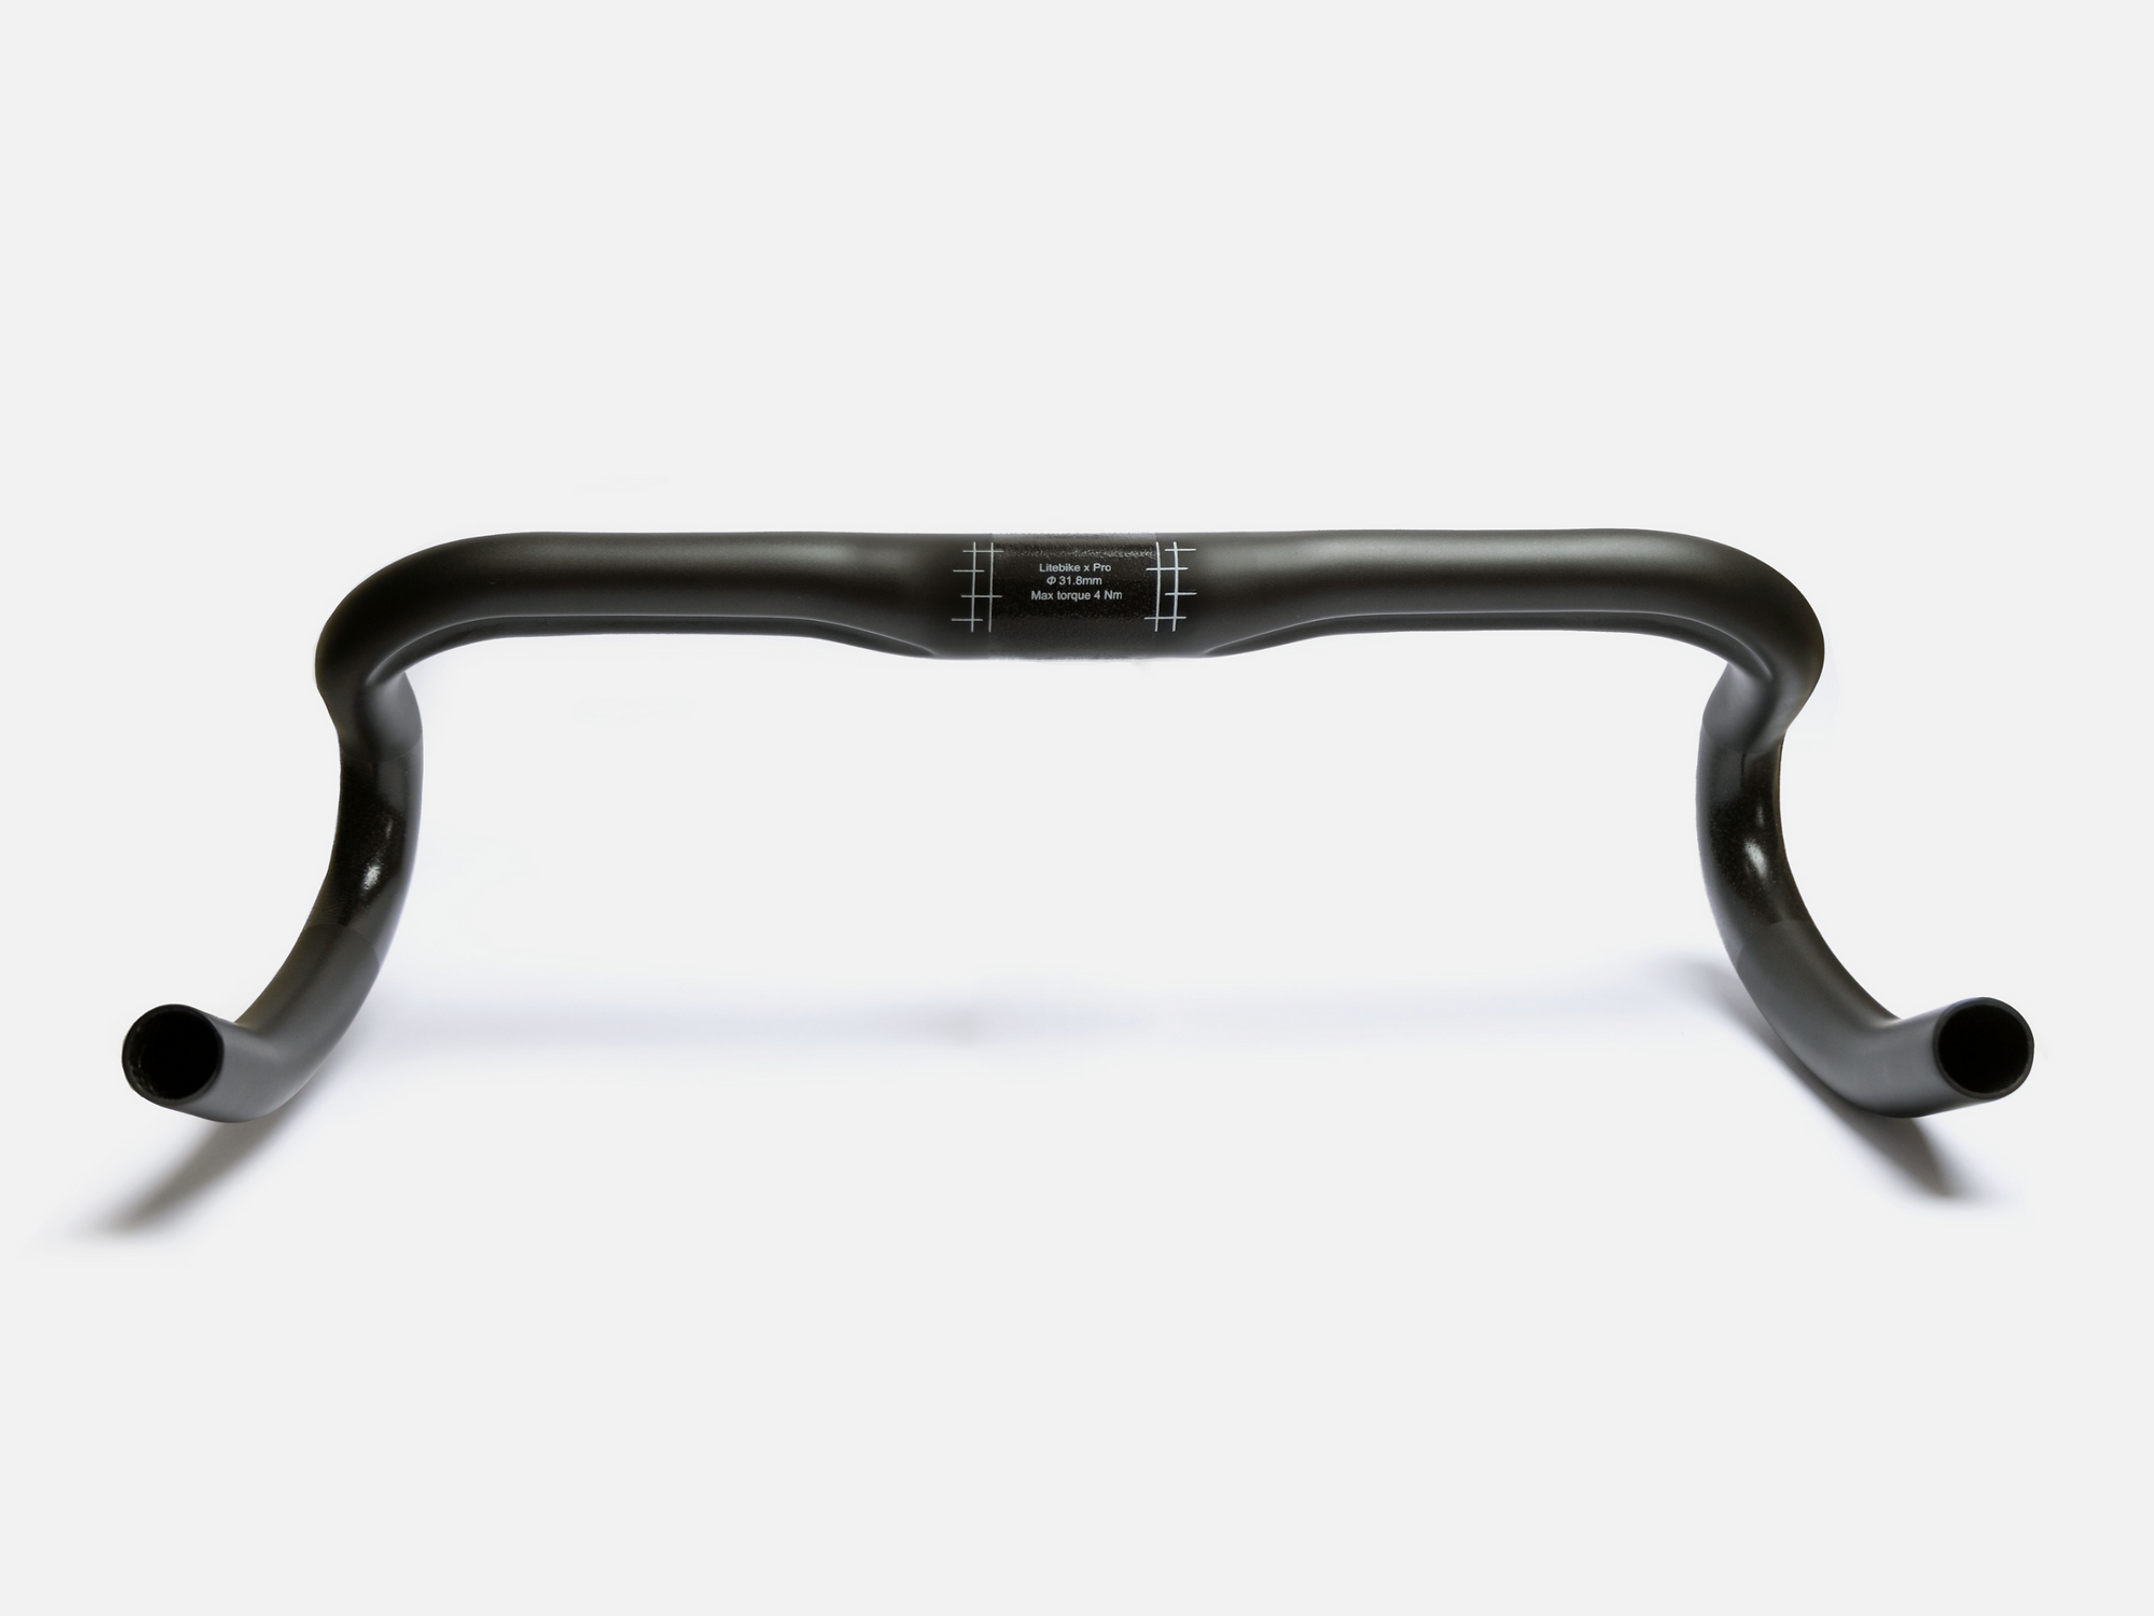
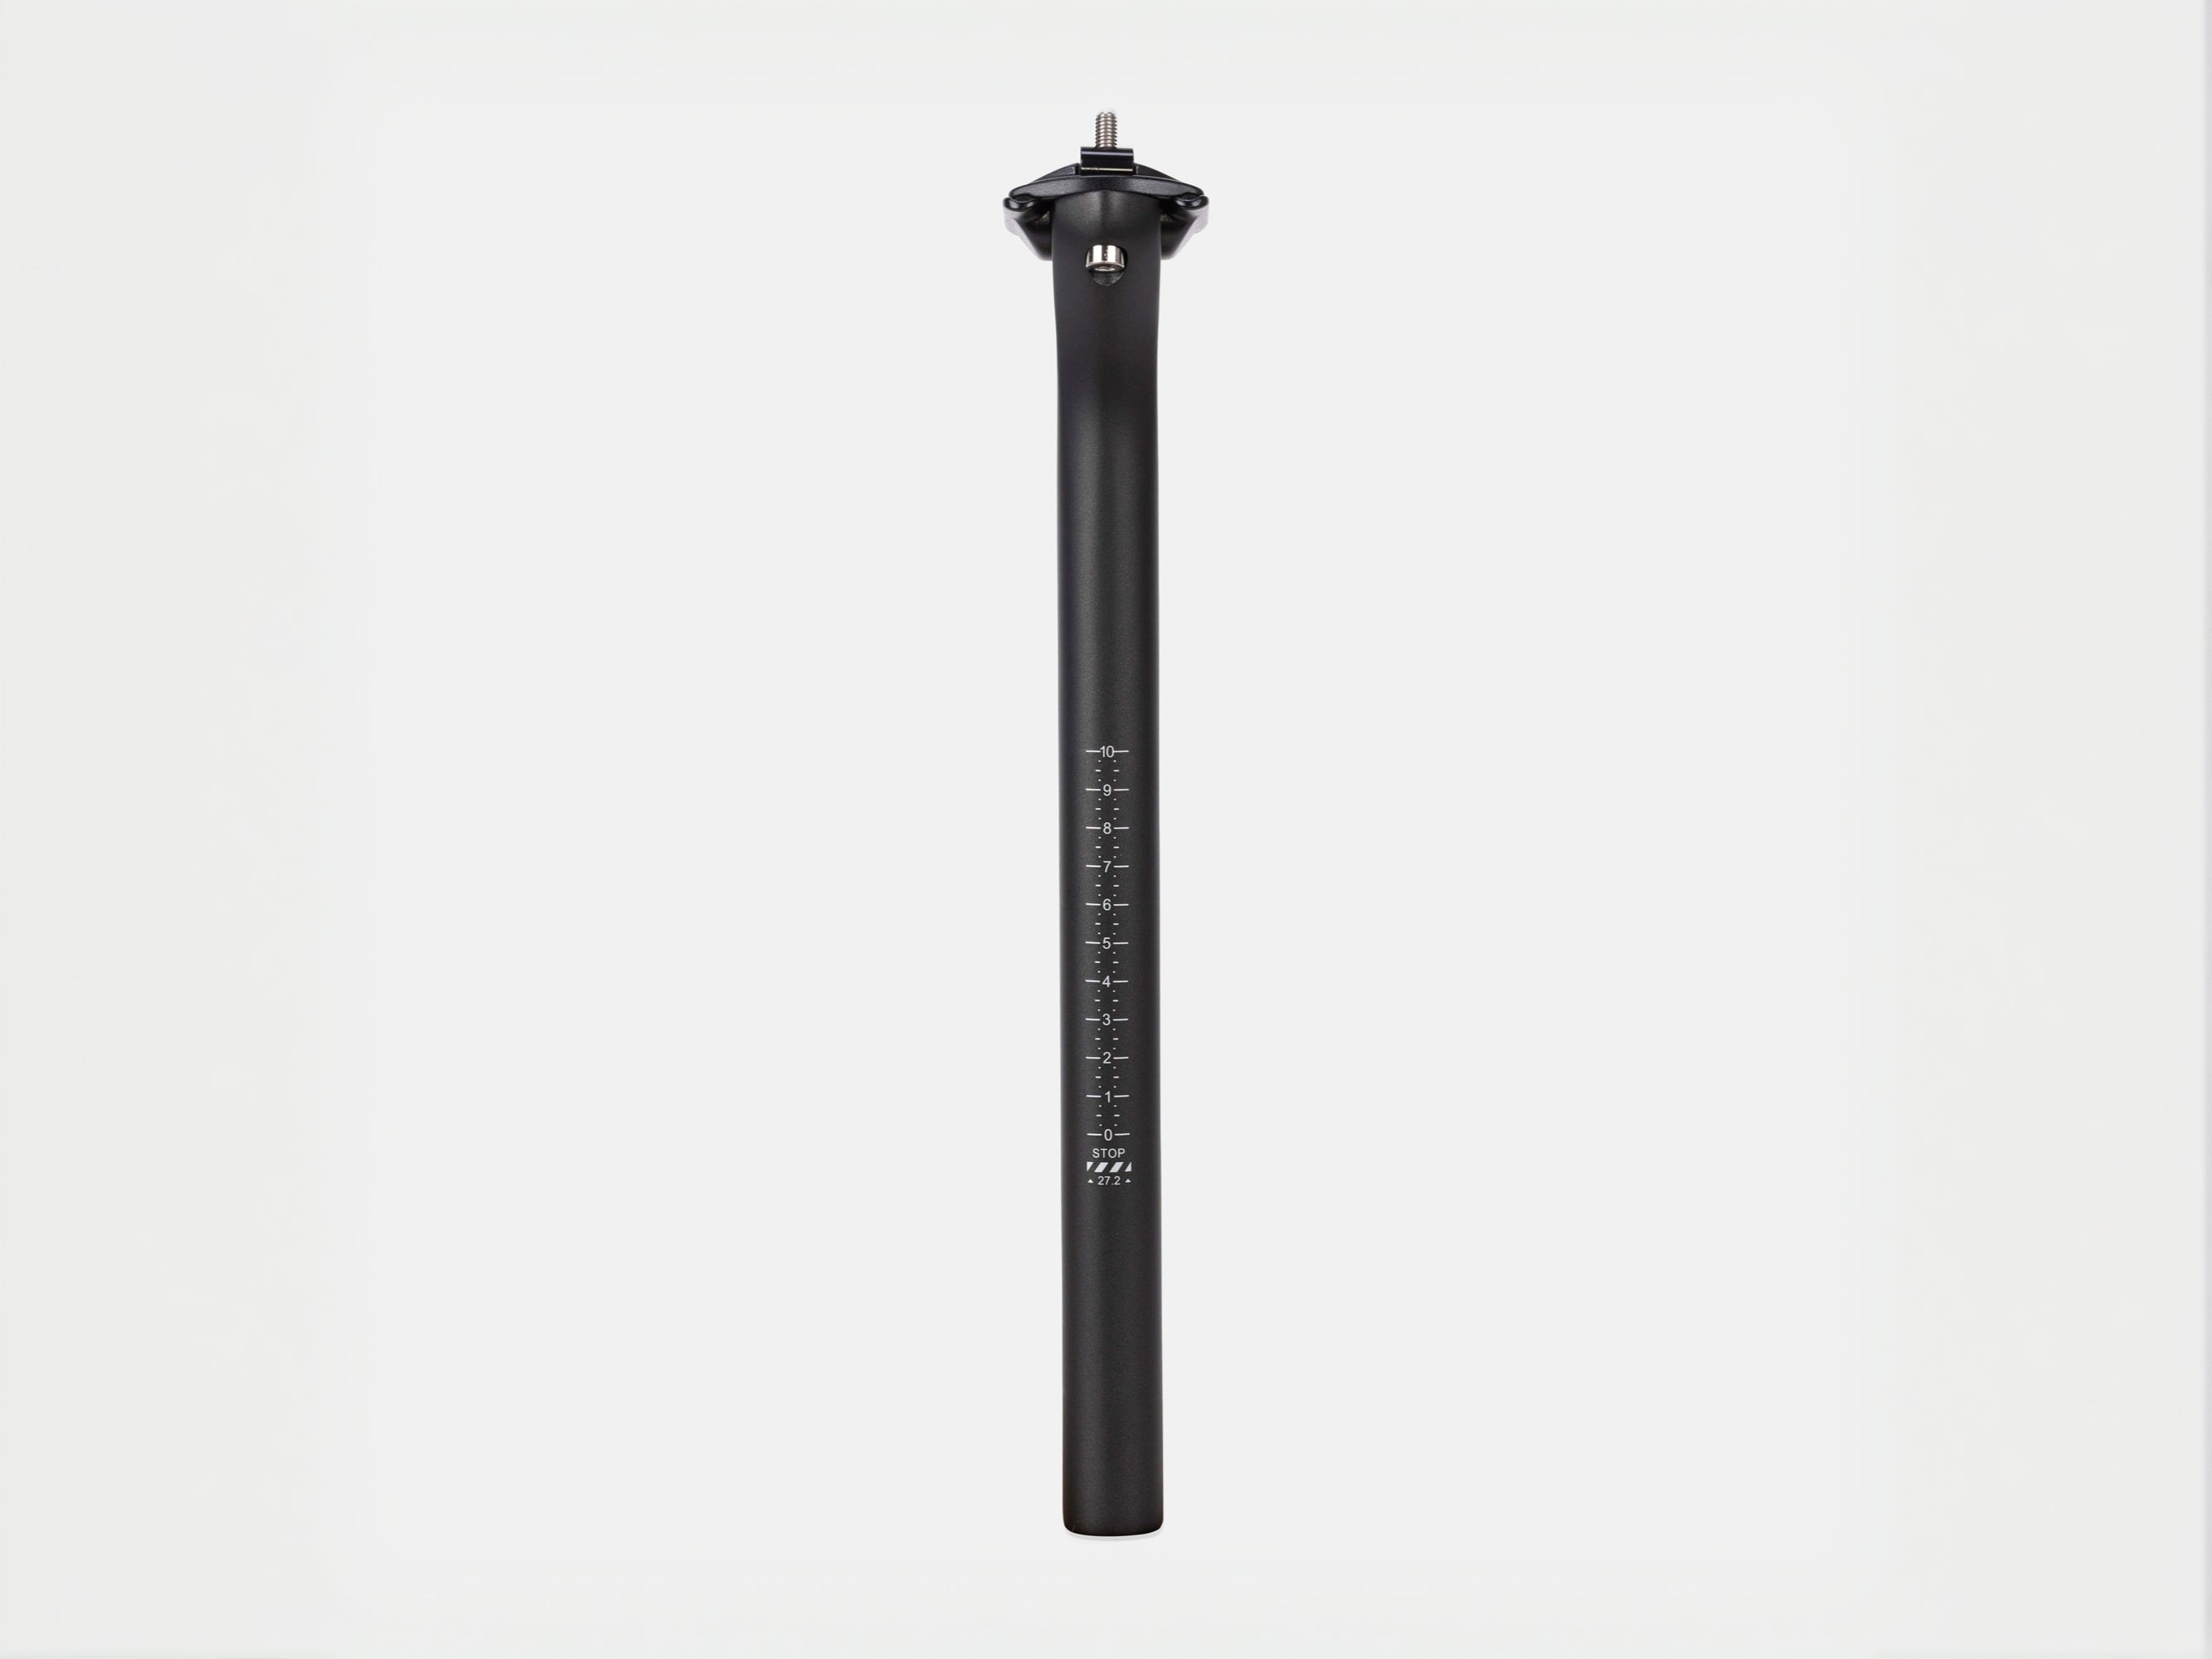
Weight savings matter here too. Carrying unnecessary grams on long Zone 2 rides adds cumulative fatigue without adding training benefit. A lighter handlebar, seatpost, or cassette doesn't just matter on race day — it makes every ride a little more efficient.
We designed the Litebike x Pro carbon handlebars and Mach^ carbon seatpost specifically with performance and long-distance comfort in mind. If you're investing seriously in your training, it's worth making sure the bike underneath you isn't working against you.
Zone 2 training is not glamorous. It won't give you the post-session satisfaction of a lung-burning interval set. But if you want to ride faster, further, and more consistently — it is the single most important thing you can do. Start building the base.