
Winter Bike Maintenance Checklist for Carbon Components (UK Edition)
Winter is brutally honest with carbon bikes. Salt, grit, standing water, and sub‑zero swings expose weak prep and sloppy assembly faster than any sunny‑season ride. Treat your frame and cockpit with the same respect you’d give a luxury suit: a precise fit (correct torque), quality materials (pH‑neutral cleaners, carbon paste), and craftsmanship that’s attentive to every seam and junction. Below is a practical, month‑by‑month plan for November through February that keeps your carbon components quiet, strong, and ready to fly when spring arrives. Use it as a living checklist and you’ll prevent small issues becoming expensive problems.
Key takeaways / Summary
- Essentials to buy: pH‑neutral bike cleaner, carbon assembly paste, microfibre cloths, soft bristle brushes, tape/frame film, torque wrench, quality mudguards, and a powerful front/rear light set.
- What to look for in care products: solvent‑free, non‑ammonia cleaners safe for carbon; carbon paste with fine particles; accurate torque tools; clear protective film that adheres well in cold.
- Inspection priorities: handlebar/stem junctions, seatpost and clamp area, fork crown and underside, bottle cage bosses, bottom bracket shell, braking surface (for rim brakes), and disc rotors and pads.
- Indoor trainer setup for carbon frames: never clamp the top‑tube; use dropout‑mount trainers only; use fans and sweat guards; check seatpost clamp torque; clean after any high-effort session.
- Storage rules: dry the bike, remove salt/grit, keep the bike in a room with a moderate temperature (avoid freezing garages), store on padded hooks—never by clamping the frame.
- Budget vs. premium approach: you can achieve excellent results with a modest kit if you’re consistent. Premium cleaners, waxes, torque tools, and protective films buy you time, precision, and durability—like choosing Italian craftsmanship when fit, finish, and longevity truly matter.
- When to seek a pro: any visible cracks, deep gouges, soft spots, persistent creaking you can’t trace, or any impact damage—stop riding and get a carbon specialist to assess.
Short on time? Start with the quick checklist below, then dip into the deeper sections as needed. Each section builds on the last so you can follow a simple cadence through the winter.
At-a-glance: quick winter checklist for carbon
- Rinse after every wet/salty ride; pH‑neutral wash; dry thoroughly. Warm water helps dissolve brine faster.
- Weekly: clean drivetrain, re‑wax chain, wipe and inspect carbon junctions.
- Monthly: check headset play, seatpost slip, bar/stem torque, axle condition, wheel true, and disc pad wear; refresh protective film on high‑wear zones.
- After heavy grit rides: remove seatpost, clean/post & tube, re‑apply carbon paste, re‑torque to manufacturer spec.
- Indoor: fit sweat guard, run 2x fans, wipe down frame/cockpit after every session.
Want targeted advice by component? Explore the tiles below for deeper dives on bars, stems, drivetrains, and seatposts—each guide expands on the winter‑specific checks in this article.


Deep Dive
Pre‑winter carbon inspection (October–early November)
This is your deep dive. Think of it like tailoring a luxury suit: every seam and stress line must lie perfectly. Work in bright light, with a clean bike and a torque wrench ready. Take your time here—the more thorough this step, the easier the rest of winter becomes.
- Frame and fork:
- Clean using a pH‑neutral bike wash; avoid ammonia/solvent cleaners that can attack resin systems. Rinse and dry fully. Avoid pressure washers; low pressure and warm water dissolve road salt safely.
- Inspect the fork crown underside, around brake mount areas, and internal cable/port edges for chips or cracks. Gently press around suspicious areas; note any soft spots.
- Check bottle bosses and accessory mounts. Winter brine can creep in—apply a small drop of light oil on metal bolts after drying.
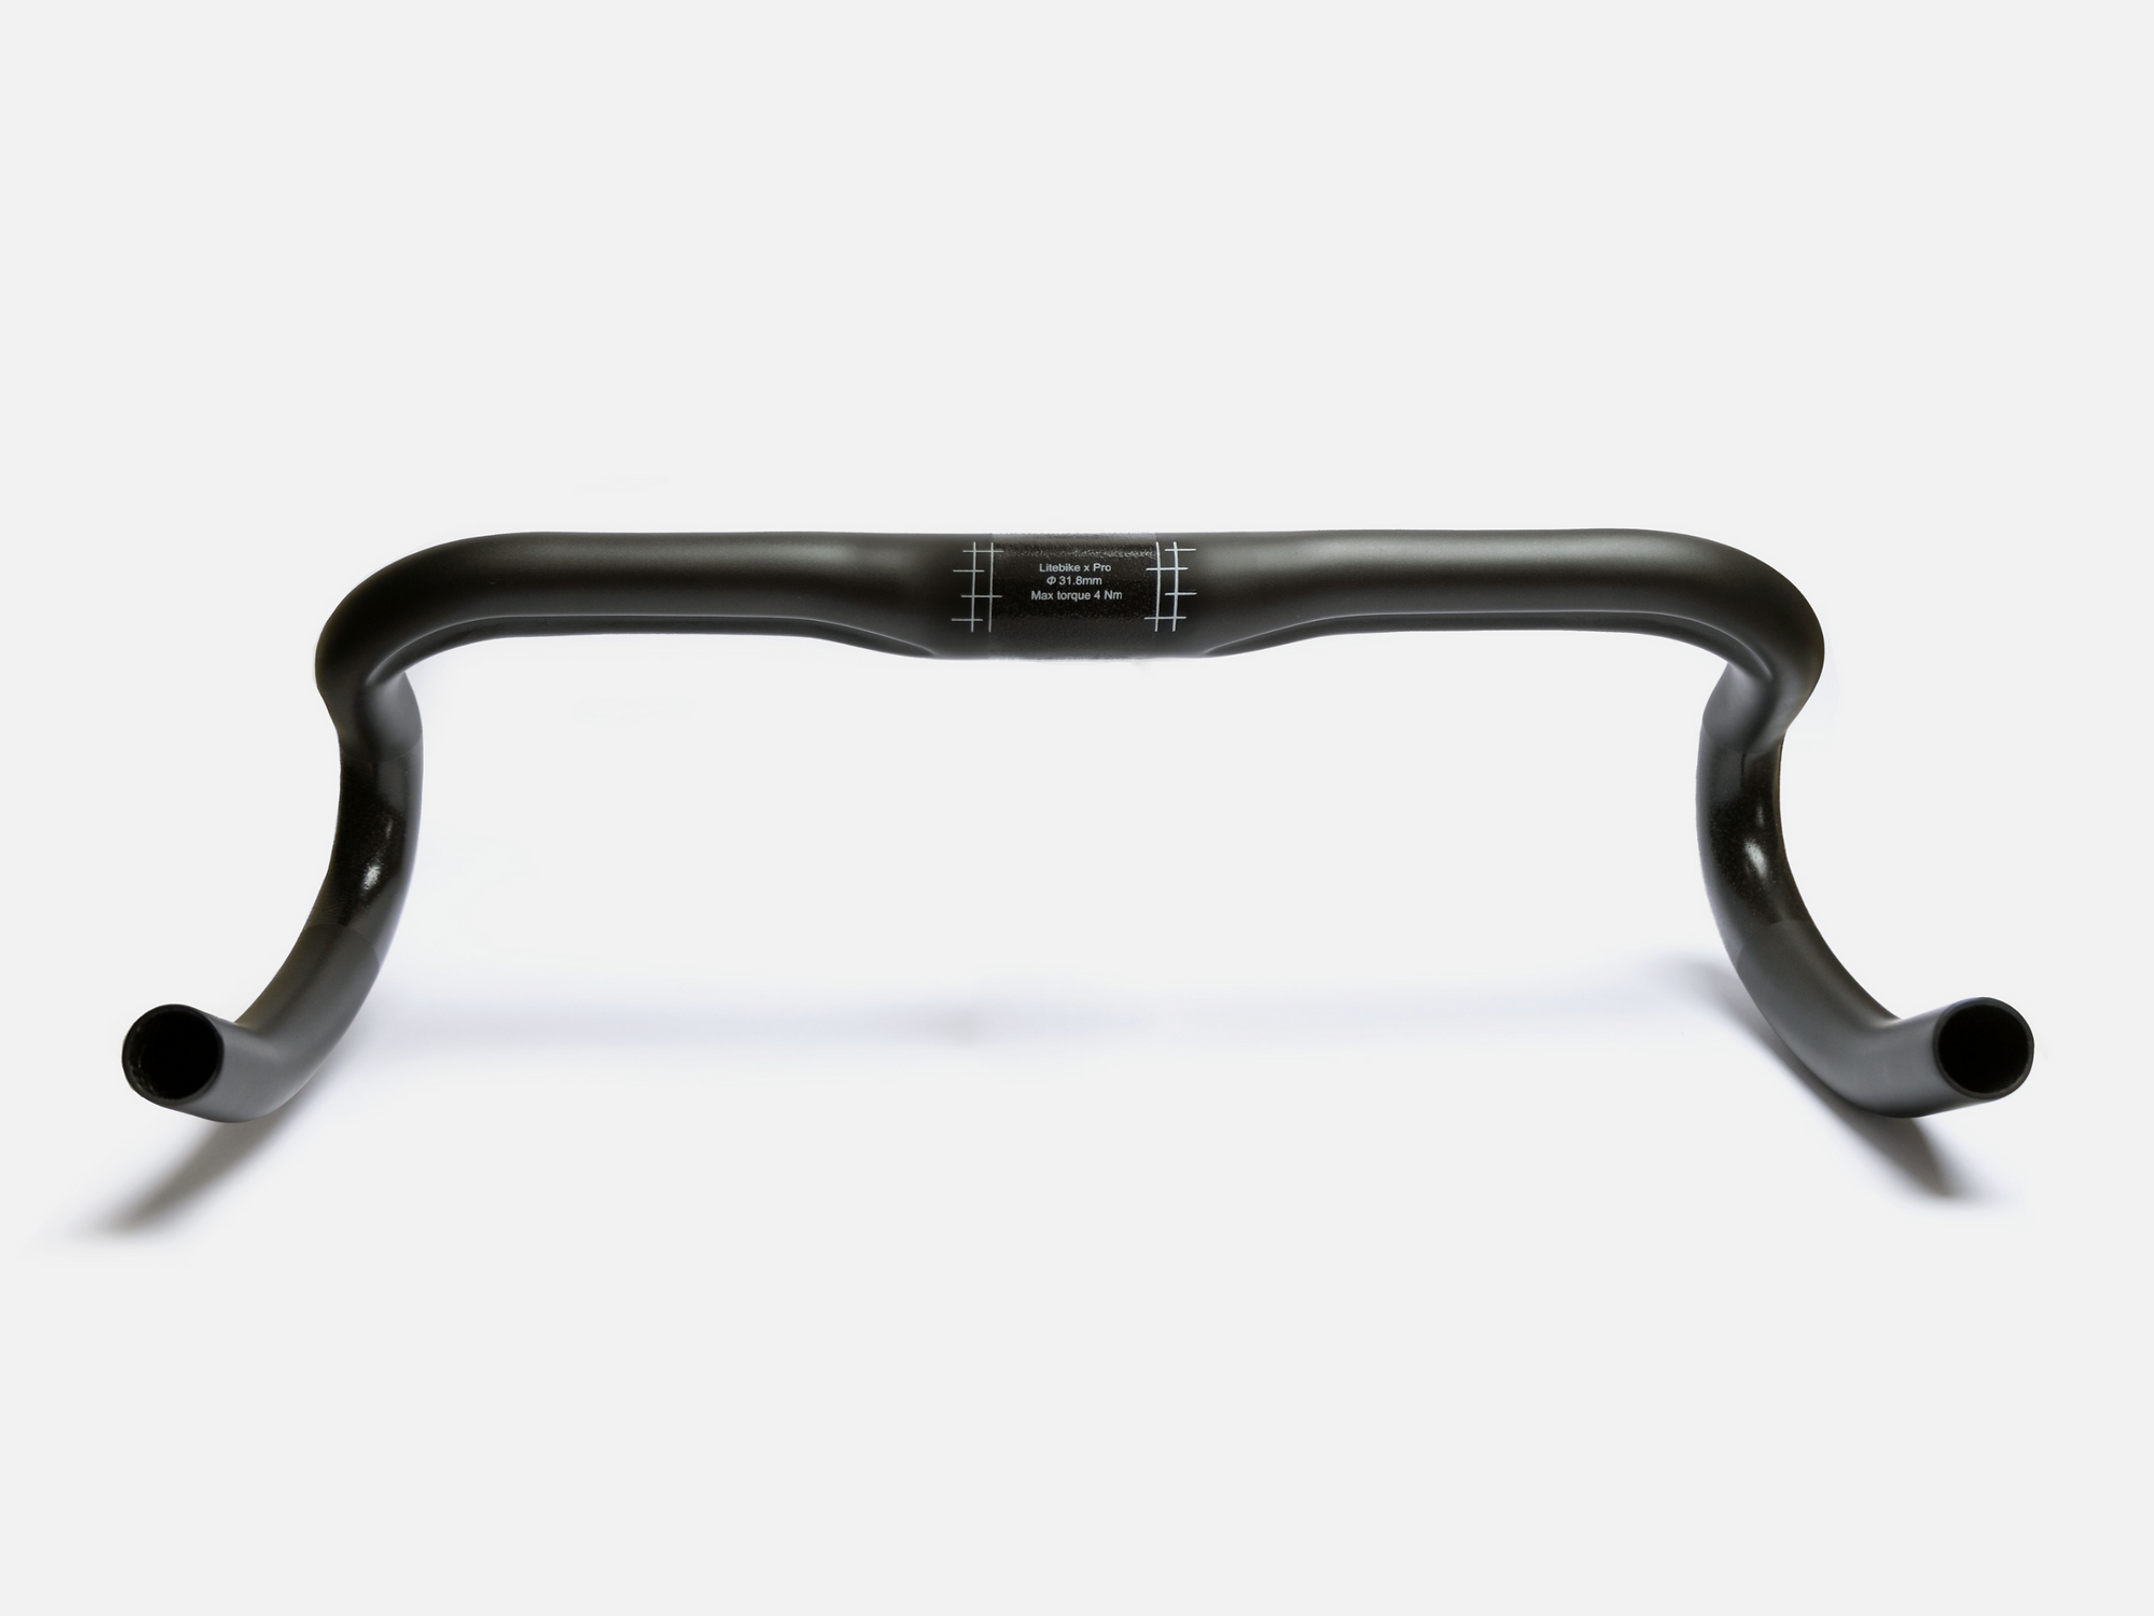
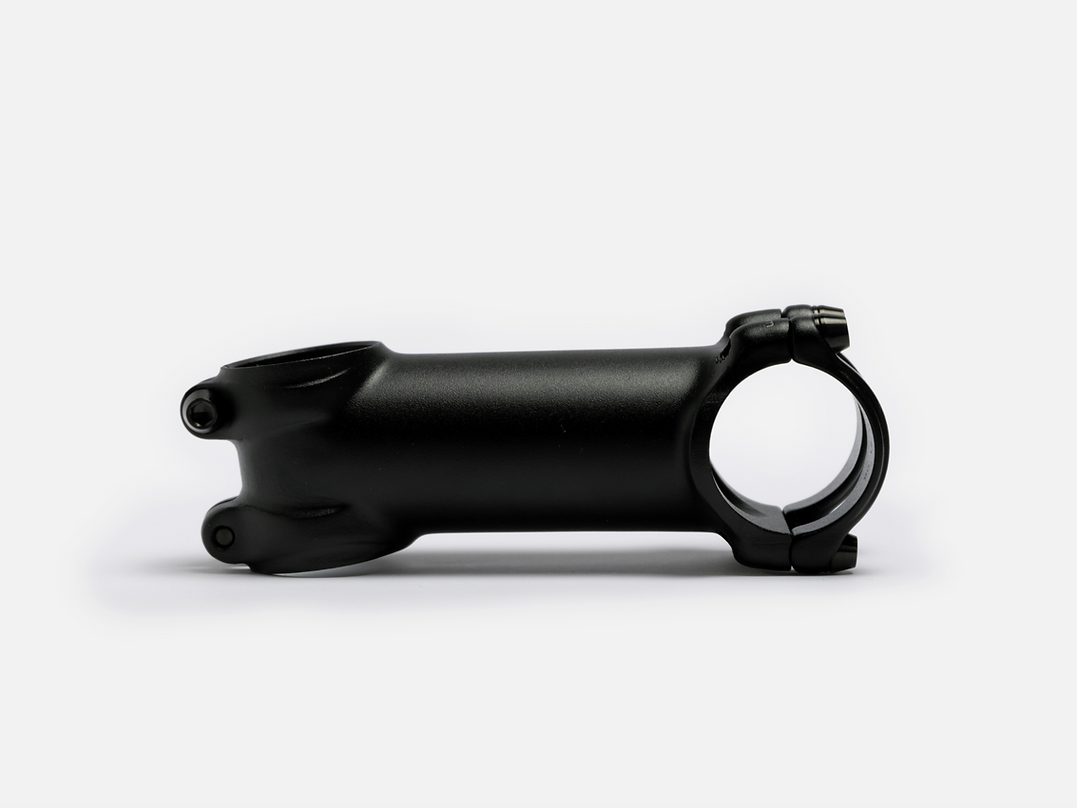
- Bars, stem, and faceplate:
- Remove the faceplate; clean the clamp area and bar surface. Grit here creates creaks and can score laminates.
- Reassemble with fresh, correct‑spec torque. Tighten faceplate bolts in small, even increments in a cross pattern. If the bar has textured zones, ensure the clamp sits only on that region.
- Replace fatigued bar tape; winter gloves benefit from thicker, grippier tape. Consider high‑contrast finishing tape to spot salt/sweat residue early.
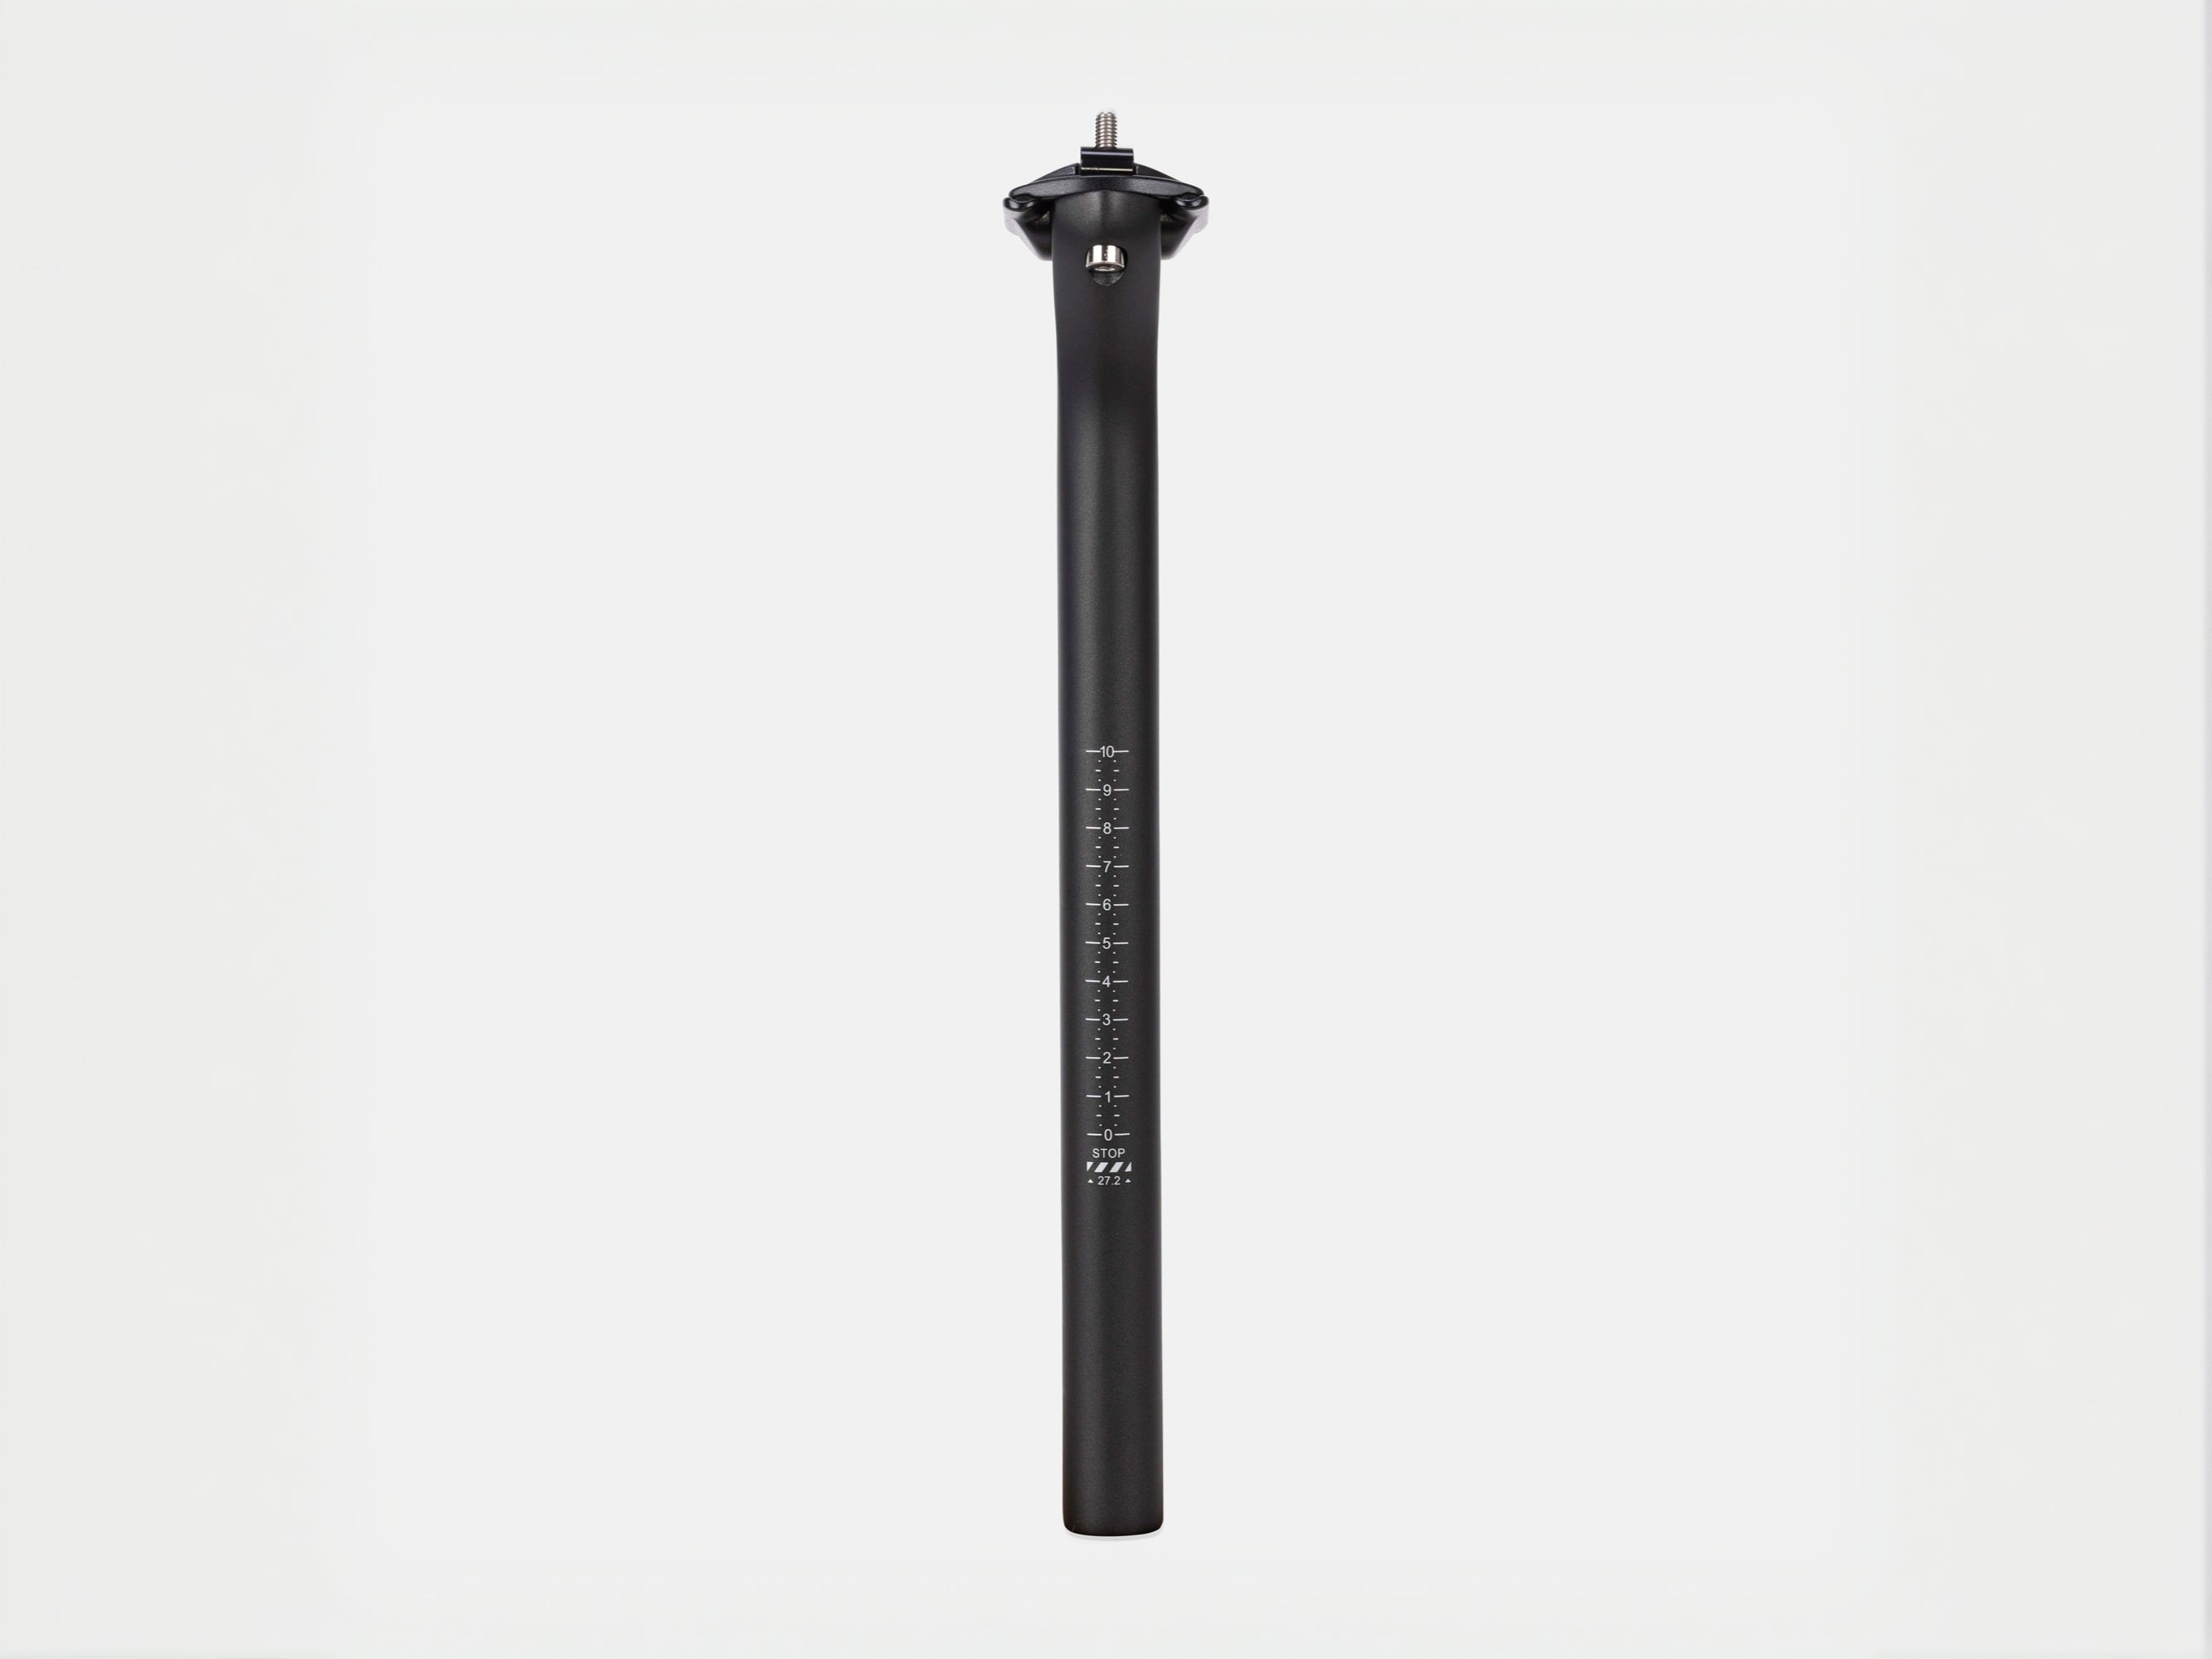
- Seatpost and binder:
- Remove the post; wipe the inside of the seat tube with a clean, dry cloth. Apply carbon assembly paste thinly and evenly to the post.
- Reinsert and torque the binder bolt to manufacturer spec. Mark saddle height with a small piece of tape to detect any winter slip.
- Wheels and axles (carbon rims if applicable):
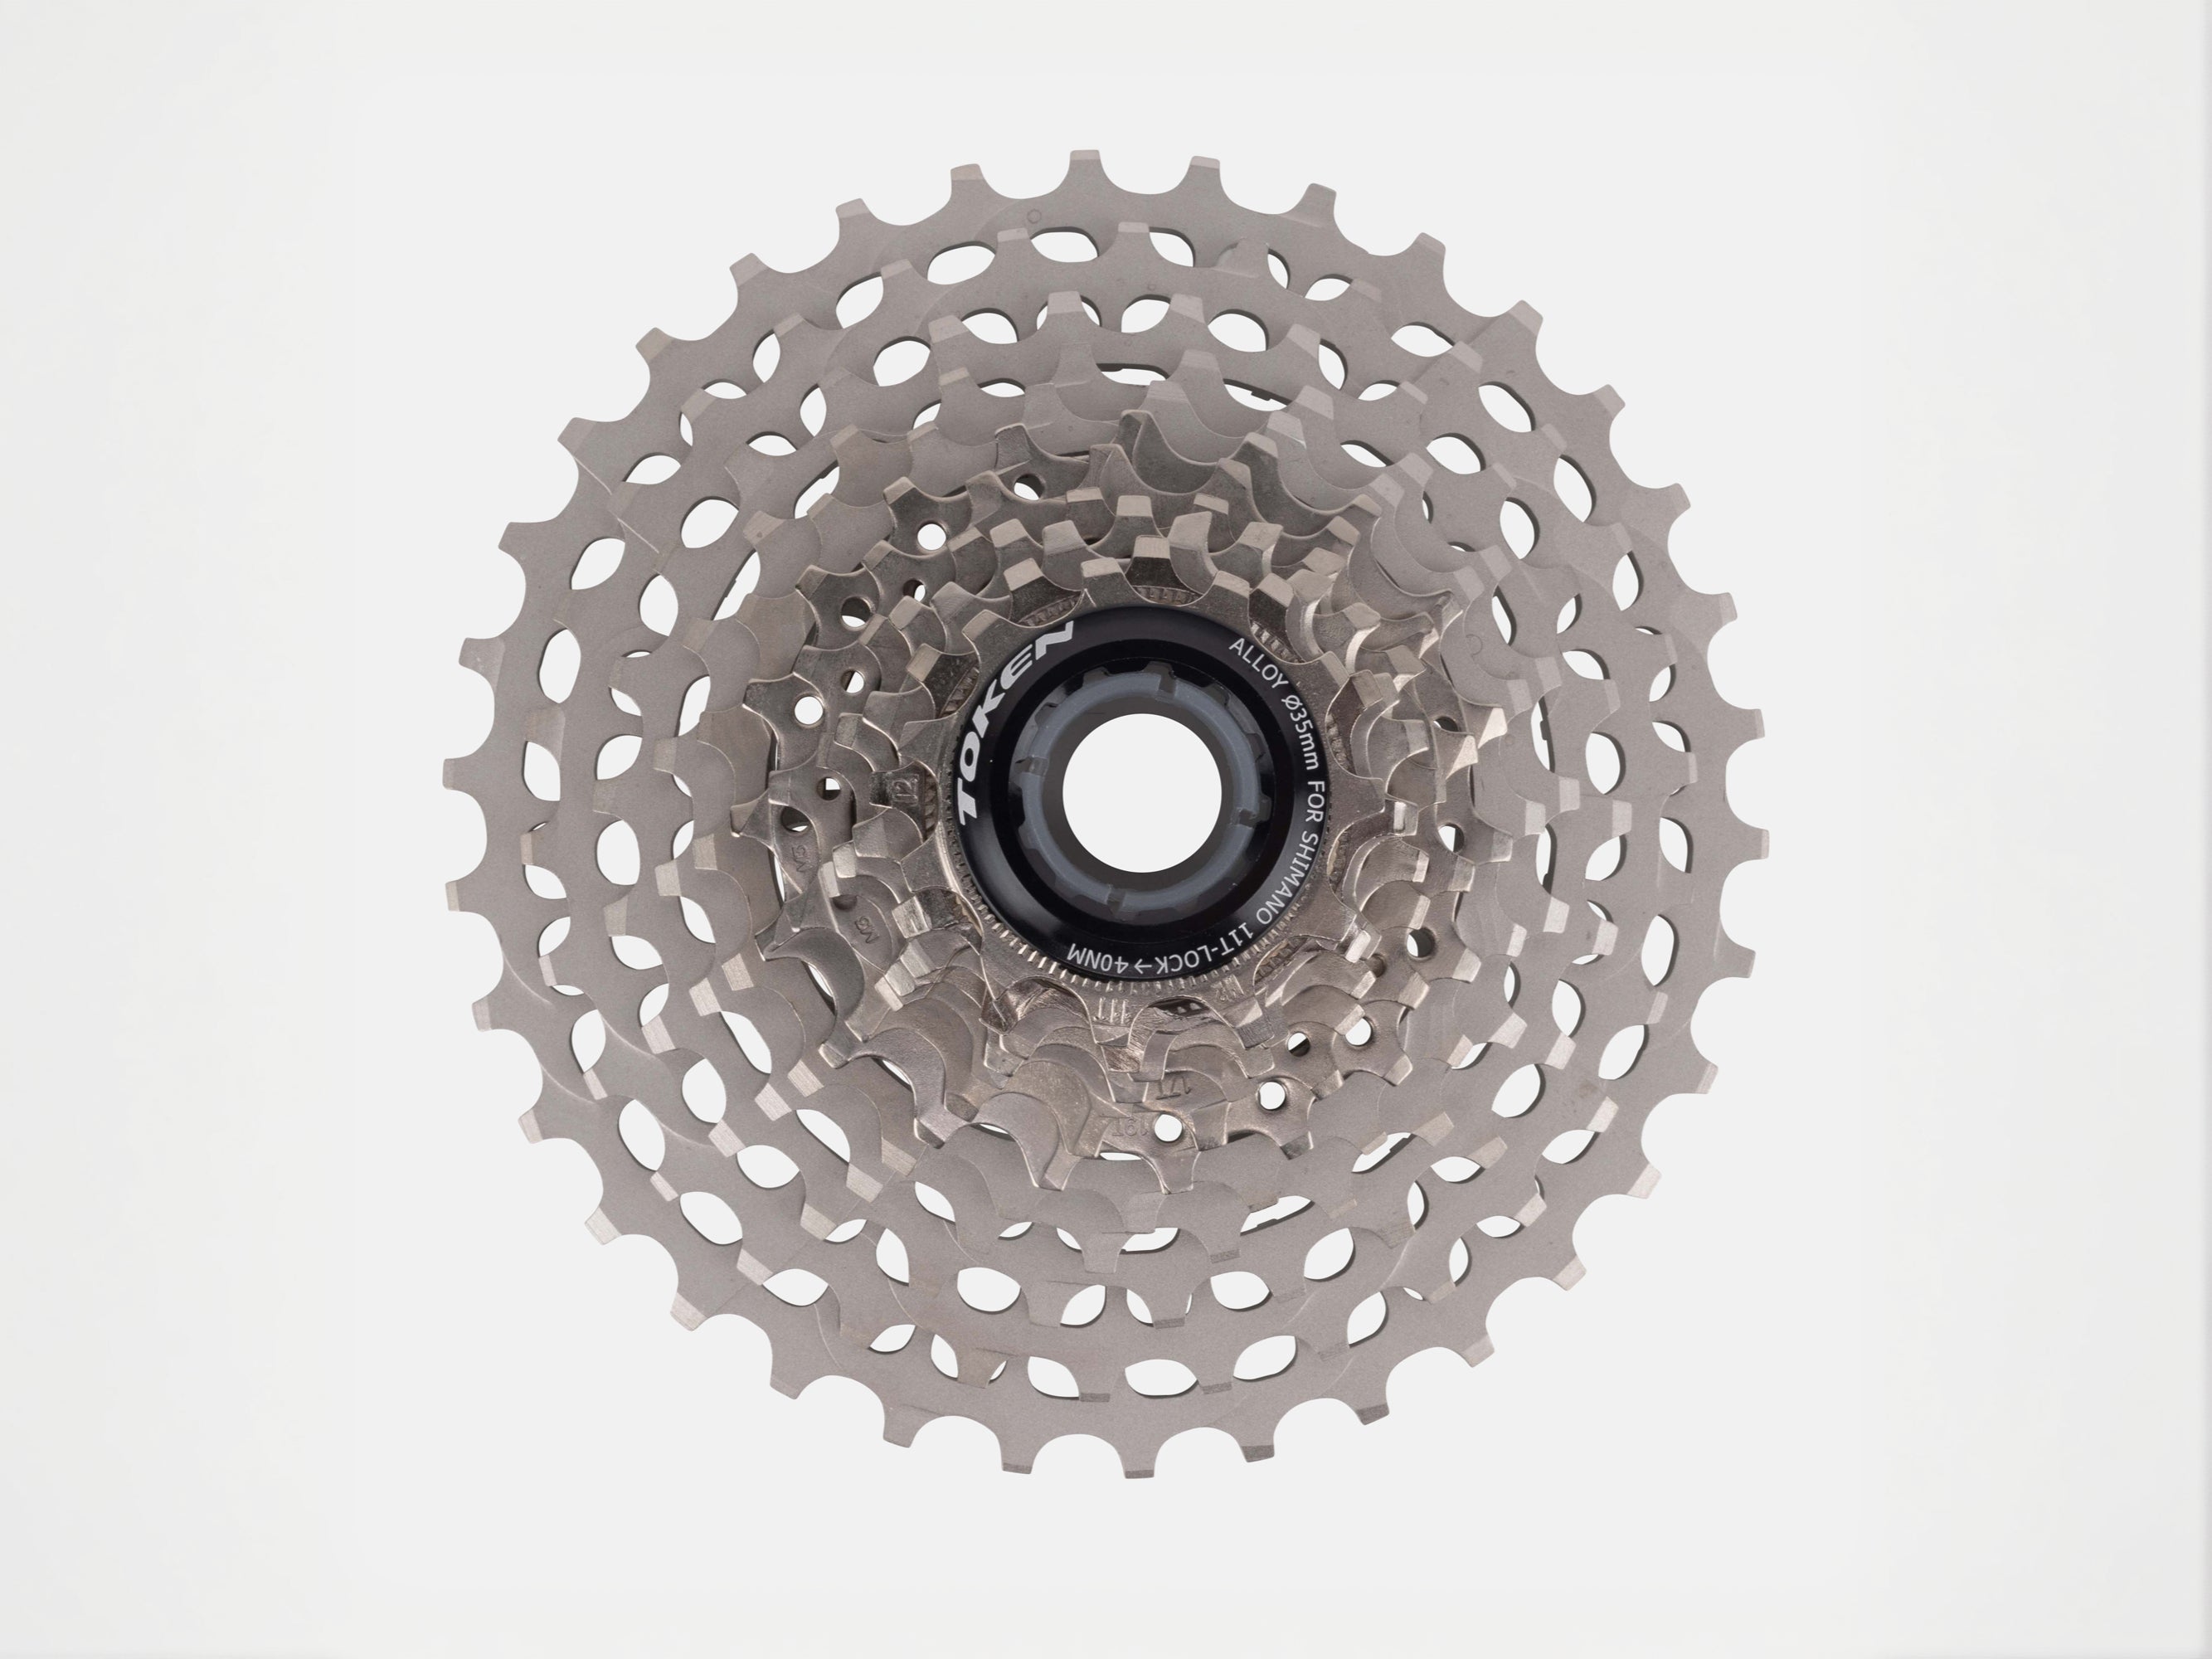
- Inspect brake tracks (rim‑brake wheels) for wear or discoloration. Check for cracks near spoke holes.
- Disc systems: check rotor true and light surface corrosion; inspect pad thickness and switch to sintered pads if you ride in persistent wet. Keep silicone products away from rotors and pads.
- Clean the through‑axle threads and lightly grease the metal threads—wipe off excess to avoid grit attraction. Verify lever pivots move smoothly.
- Tubeless: refresh sealant if it’s older than a few months; snug valve cores and check for rim‑tape lifting around spoke holes.
- Bottom bracket and headset:
- Check for play by rocking the bike with the front brake engaged (headset) and by side‑loading cranks (BB).
- If you hear grinding or feel notches, plan a winter bearing service or professional check. Replace tired compression rings or crown races before deep winter hits.
Cold‑weather chain waxing schedule (UK winter)
Road salt and abrasive grit are the enemies of chains and chainrings. Wax is a strong winter ally because it repels grime, runs clean, and extends drivetrain life. Choose a winter‑grade blend that prioritises durability in wet conditions and keep a simple, repeatable routine.
- New/transition wax job:
- Thoroughly degrease the chain until no oil residue remains. Rinse, dry, then hot‑dip or apply your chosen winter‑grade wax per instructions.
- Outdoor cadence:
- Re‑wax weekly or every 200–300 km in wet/salty conditions. Shorter intervals if you hear dryness or see chalky residue after rain.
- Indoor cadence:
- Re‑wax every 400–500 km; sweat is corrosive, so wipe and dry after each session.
For techniques and eco‑friendly marginal gains, see: A complete guide to chain waxing.
Winter riding protection strategies for carbon
Winter protection is about keeping contaminants off critical interfaces and making cleaning fast. A small upfront effort here saves hours later.
- Frame film and clear tape: Protect head tube flanks, chainstays, fork legs, and under‑BB zones from grit and heel rub.
- Mudguards: Full‑length guards reduce spray onto the downtube, fork crown, and seatpost binder—less brine, fewer creaks.
- pH‑neutral wash and soft bristle brushes: Avoid stiff brushes on carbon clearcoat. Microfibre cloths reduce micro‑scratches.
- Post‑ride rinse, dry, and inspection cadence: After wet/salty rides, rinse with low pressure, wipe dry, and do a 60‑second check of bar/stem interfaces, seatpost, axles, fork crown, and rotor/pad condition.
- Refresh torque monthly: Fasteners can “settle” in winter; always torque to manufacturer spec—precision protects fibres like a tailor’s careful stitch reinforces a seam. If your torque wrench hasn’t been calibrated in a while, schedule it annually.
- Silicone protectant (frame only): Light application on painted/clear‑coated areas can slow salty grime adhesion. Keep away from braking surfaces.
Indoor trainer setup for carbon frames
Indoor kilometres are kind to carbon if you manage sweat and clamping correctly. Set up once, then keep the routine tight.
- Mounting: Use a trainer that secures the bike at the dropouts; never clamp the top tube. Verify you have the correct skewer/thru‑axle adapter.
- Seatpost and saddle: Re‑check binder bolt torque. Heavy out‑of‑saddle sprints can load the binder zone—listen for creaks and stop if anything changes.
- Sweat control: Use two fans (front and side) and a sweat guard. Salt run‑off finds headset and top‑tube ports; wipe down immediately after sessions.
- Mat and cleanup: A trainer mat contains sweat and protects bearings from splashback. Wipe cockpit and top‑tube after each workout with a damp cloth, then dry.
Proper storage techniques for carbon components
Storage is where winter damage can quietly begin. Keep the environment stable and interfaces clean so the first spring ride is drama‑free.
- Stable environment: Avoid freezing garages and big temperature swings. Aim for dry, steady conditions.
- Hanging: Support by wheels or padded hooks; don’t clamp the frame. If storing for weeks, lower tyre pressure slightly and keep wheels true.
- Seatpost: For long storage, you can remove, clean, and lightly re‑paste, then reinstall to your marked height and torque properly before the next ride.
- Cover against dust—but allow ventilation to prevent condensation.
Month‑by‑month plan (November–February)
Use this cadence to stay ahead of salt and grit as UK weather and daylight shift through winter.
November: Build your winter foundation
- Complete the pre‑winter inspection and re‑torque cockpits and binders to manufacturer spec.
- Apply fresh frame film to key strike and spray zones.
- Begin the winter wax schedule after a thorough chain degrease.
- Fit mudguards and winter bar tape for better grip with gloves.
- Set up indoor trainer with fans and sweat guard if you’ll ride indoors.
December: Salt management and clamp re‑checks
- Weekly: rinse, pH‑neutral wash, dry, and wax the chain.
- Every two weeks: remove seatpost, clean/post & tube, re‑paste, re‑torque.
- Monthly: unbolt stem faceplate, wipe grit, ensure bar is mark‑aligned and clamp evenly; re‑torque steadily in a cross pattern.
- Wheel check: ensure axles thread smoothly and are free of corrosion; inspect rim brake tracks for wear (if applicable) and confirm disc pads haven’t glazed.
January: Deep mid‑winter service
- Headset: lift top cap, inspect for sweat ingress and corrosion on metal parts; clean and re‑grease bearings if gritty.
- BB check: listen for new noises; if unsure, plan a professional bearing inspection/service.
- Cockpit refresh: replace any worn bar tape; confirm torque on shifter clamps and accessories mounted on the bar.
- Chainrings and cassette: look for shark‑finning; wax helps, but replace if excessively worn.
- Tubeless: top up sealant and check valve cores; re‑seat beads if you’ve noticed slow leaks.
February: Spring readiness begins
- Final heavy clean: strip back bar tape if it’s tired; a fresh wrap brightens the cockpit.
- Re‑film frame where tape edges have lifted or are scuffed.
- Thorough inspection with bright light; perform a careful tap test on suspect areas (listening for dull vs. crisp tone).
- Plan any component refresh so you’re sorted for early‑spring events.
Carbon cleaning: step‑by‑step technique
Cleaners and technique matter more than effort. The goal is to lift contaminants without driving them into bearings or clamp zones.
- Pre‑rinse: Low‑pressure water to lift salt and grit; avoid forcing water into bearings or ports. Warm water helps dissolve brine. Avoid pressure washers.
- Clean: Apply pH‑neutral bike cleaner. Use soft brushes and microfibre cloths around carbon junctions and ports.
- Detail: Use isopropyl alcohol on a cloth for stubborn greasy fingerprints on clearcoat (keep away from raw resin and decals unless verified safe). Clean rotors with isopropyl or a dedicated brake cleaner only.
- Dry: Blot water, then let the bike air dry. Avoid aggressive heat sources. Check drain points so water can’t pool inside tubes.
- Protect: Light silicone spray on painted/clear‑coated areas, not on braking surfaces or clamp interfaces. Wipe overspray immediately.
Common winter damage patterns (what to catch early)
- Seatpost slip or creak: Usually low paste, incorrect torque, or grit in the binder. Remove, clean, re‑paste, torque correctly.
- Handlebar/stem micro‑scoring: Grit under faceplate. Disassemble, clean, and torque evenly. Reassess clamp alignment marks.
- Fork crown grime: Salt collects here; rinse and dry after wet rides. Check for paint chips exposing resin—touch up or protect promptly.
- Through‑axle corrosion: Dry threads; light grease on metal threads only; wipe excess.
- Rim brake track glaze or streaks: Check pad condition and alignment; replace pads if contaminated with grit.
- Disc brake issues: Light rotor rust from road salt (remove with isopropyl and a clean cloth) and pad glazing after long, wet descents (lightly bed in new pads or replace if hardened).
Handbuilt-level craftsmanship for everyday riders
Like a hand‑finished Italian suit, carbon responds to care that’s precise rather than flashy. Consistency, clean interfaces, and correct torque deliver the quiet confidence you feel when the bike disappears beneath you—no creaks, no slips, just the sensation of speed. You don’t need the most expensive products to achieve this; you need the right ones, used properly and regularly.
Indoor vs outdoor: balancing your winter mileage
Mix your riding to keep motivation high while minimising exposure to the worst conditions. Match the maintenance cadence to where you’re logging the most time.
- Outdoor focus: Shorter, higher‑quality rides with immediate washdowns. Re‑wax frequently.
- Indoor focus: Longer structured sessions; strict sweat control; quick cockpit wipe‑down becomes non‑negotiable.
- Mixed plan: Aim for one deep clean per week plus fast wipe‑downs after salty rides or trainer sessions.
Spring preparation timeline (late February to March)
Roll into spring with a bike that feels silent and new. This quick pass turns winter diligence into season‑long reliability.
- Final winter service: headset and BB inspection; address any grit damage.
- Cockpit once‑over: bar/stem torque, fresh tape if needed, shifter clamp correctness.
- Seatpost reset: clean, paste, torque; confirm height and angle.
- Drivetrain refresh: inspect chain wear and cassette; re‑wax schedule continues into spring with longer intervals in drier weather.
- Wheels: true if needed; check spoke tension and rim inspection once more before race/sportive season; verify disc pad life.
Further reading and resources
For component‑specific context and deeper background on carbon behaviour, these guides complement the checklist above.
- A complete guide to chain waxing (eco & marginal gains)
- The benefits of carbon handlebars
- Should I upgrade to a lightweight carbon seatpost?
- How carbon fibre revolutionised cycling
- How to build a custom lightweight bike
Month-by-month quick reference (printable)
- November
- Deep clean; full carbon inspection.
- Re‑paste and re‑torque seatpost; check bar/stem clamps.
- Apply frame film; fit mudguards and winter tape.
- Begin winter wax schedule.
- December
- Weekly rinse/wash/dry; re‑wax; wipe carbon junctions.
- Biweekly seatpost service (clean/paste/torque).
- Monthly cockpit re‑torque; axle and rim inspection.
- January
- Headset cap off; clean and assess bearings.
- BB noise check; plan service if needed.
- Replace tired bar tape; re‑align controls.
- February
- Refresh frame film where needed; final winter deep clean.
- Full bike torque check; wheel true check.
- Plan spring event prep; stock fresh wax and bar tape.
Troubleshooting: creaks, clicks, and slips
Most winter noises trace back to grit at interfaces or under‑torqued hardware. Work methodically, cleaning and re‑torquing one junction at a time.
- Creak under load (seated): Often seatpost/binder. Remove, clean, paste, and torque.
- Creak when sprinting (bars): Faceplate grit/uneven clamp pressure. Disassemble, clean, torque evenly.
- Clicking at front end: Headset top cap tension or dry bearing seats; re‑set preload and check spacers.
- Post slipping: Insufficient paste or torque; ensure clamp area is clean and not polished smooth. Use the paste specified for carbon interfaces.
Why this approach works
Winter reliability comes down to two principles: keep contaminants out and maintain precise interfaces. Salt and grit accelerate wear where carbon meets metal—binders, faceplates, axle interfaces, and bosses. Regular cleaning plus correct torque maintains the “tailored fit” of each junction. Like fine Italian craftsmanship, the details you can’t see—cleaned clamp surfaces, correct paste thickness, measured torque—define comfort, silence, and long‑term strength.


